Last updated November 18, 2026
The ADU Design Process: From First Sketch to Permit Set
Most ADU design guides start with style. They show you shed roofs, clerestory windows, and warm wood accents, then work backward to the lot. That’s the wrong order, and in Boulder City it’s an expensive way to design. Here, the design process for an accessory dwelling unit starts with what the lot will legally allow, and the zoning envelope becomes the design brief. Only after that box is drawn do style and layout choices actually matter. In this guide we’ll walk through how to read a zoning summary before you pay for design work, how the desert climate should shape your roof and windows, what a permit-ready plan set actually includes, who is legally allowed to draw what in Nevada, and which early decisions quietly drive your construction cost and long-term rentability.
Quick Answer
The ADU design process in Boulder City runs in a fixed order: confirm the buildable envelope from the city’s zoning rules for your lot, sketch a floor plan that fits inside that envelope, layer in desert-climate decisions like overhangs and window orientation, then produce a permit-ready set with site plan, floor plans, elevations, foundation plan, and energy compliance documentation. Design decisions made in the first two weeks – ceiling height, entry location, utility stub placement – determine most of what the project will ultimately cost and how well the ADU works as a home. Nothing moves forward until the envelope is confirmed with the city’s planning or building department.
Table of Contents
- How Do You Read a Zoning Summary Before Spending on Design?
- How Does the Desert Climate Shape an ADU Design?
- What’s in a Permit-Ready Plan Set?
- Designer, Draftsperson, or Licensed Architect: Who Do You Need?
- Which Early Decisions Drive Cost and Rentability?
- Where Does a Prefab ADU Fit in the Design Process?
- What Does the Design Phase Typically Cost?
- What Happens Between Design and Permit Approval?
How Do You Read a Zoning Summary Before Spending on Design?
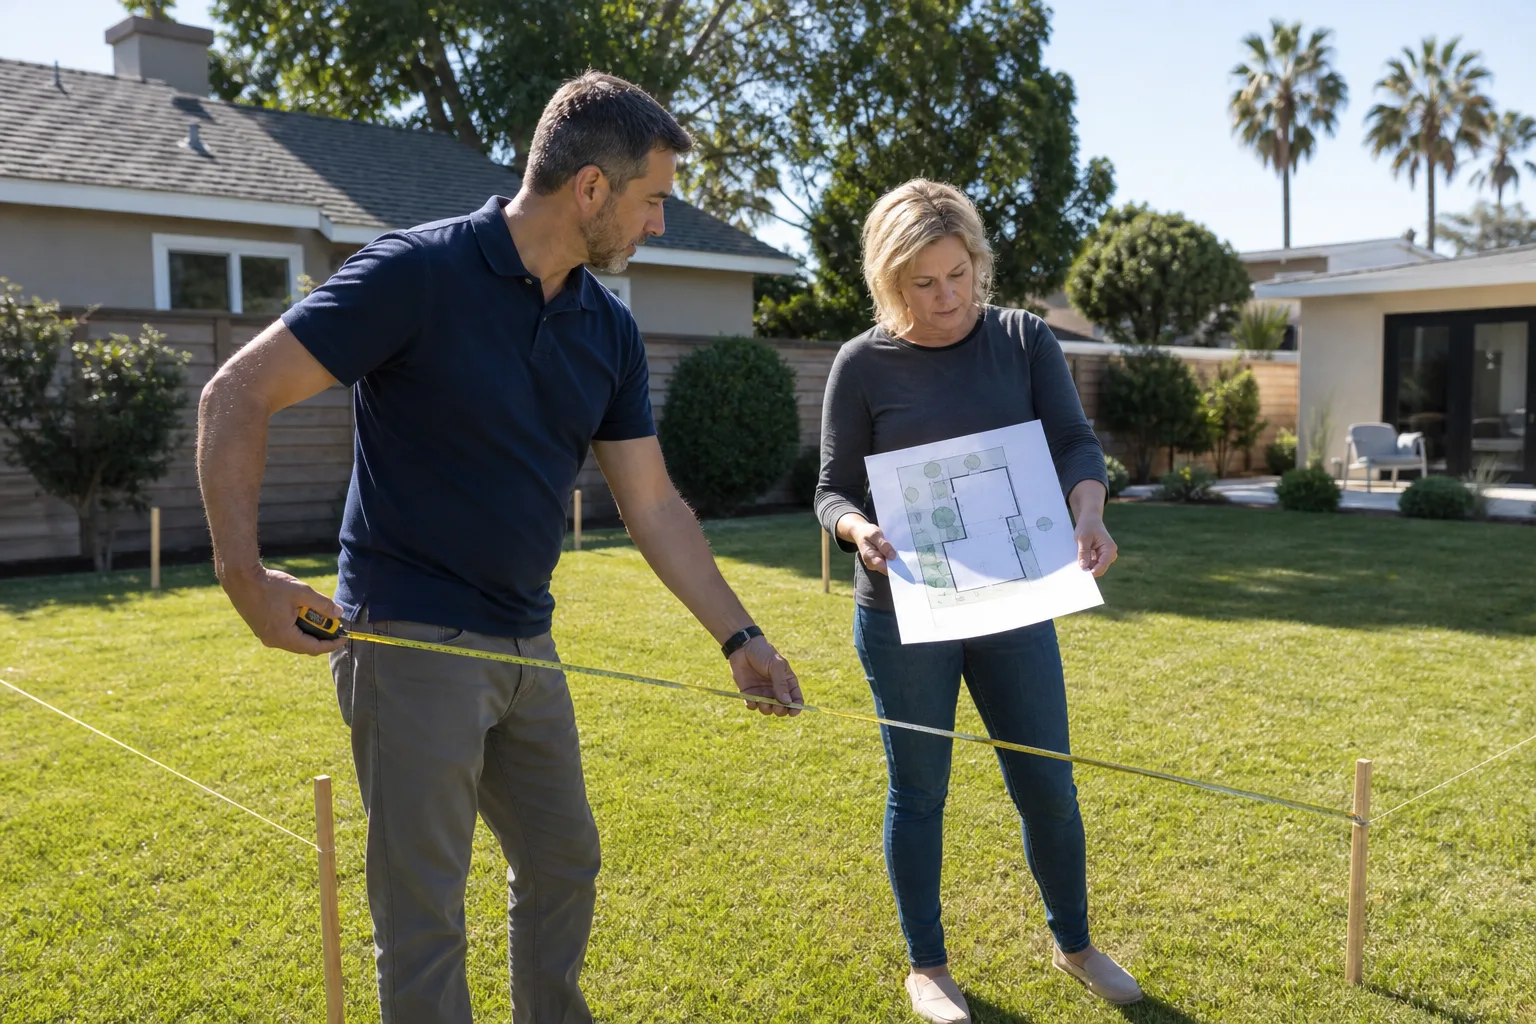
You start by pulling the zoning designation for your parcel and translating it into a buildable box – a footprint and height that a designer can actually work inside. That box, not a mood board, is the first drawing of your project. The rules themselves vary by city and by lot, so we confirm the current numbers with Boulder City’s planning or building department before any plans are finalized. What you’re extracting from a zoning summary is a short list of constraints.
Here’s the sequence we walk homeowners through:
- Find your zoning district. Your parcel number maps to a district, and that district maps to a set of development standards.
- Note the setbacks. Rear and side yard setbacks usually decide where a detached unit can sit. A generous rear yard is the single best predictor of whether a detached ADU fits.
- Check lot coverage. This caps the total footprint of buildings on the lot, including the house. Strict lot coverage enforcement means your ADU may have to be smaller than you hoped, or attached rather than detached.
- Check height limits. Height limits interact with roof pitch. A low wall height with a steep roof may be a tighter box than a taller wall with a shallow roof.
- Check parking and access rules. If your property has alley access or a long driveway, that changes the entry location and possibly the plan entirely.
- Check any overlay or special district rules. Historic districts and design overlays can add requirements on materials, massing, or roof form.
Once you have those numbers, sketch the envelope to scale on a site plan. If the box is too small for a bedroom, bathroom, and kitchenette, you’ve learned that before paying a designer. If it comfortably fits a one-bedroom, you know the project is real. This is also when we look at whether a garage conversion makes more sense, since converting existing structure sidesteps some of the footprint question. Learn more about our approach on the Casita Builders Boulder City page.
How Does the Desert Climate Shape an ADU Design?
Boulder City summers are hard on buildings, and an ADU’s small volume means heat gain and heat loss happen faster than in a larger house. Design decisions that would be minor details in a milder climate are load-bearing decisions here. Roof overhangs, window orientation, insulation, and mechanical sizing should all be settled during design, not discovered during construction. The desert is also a place where efficient design shows up in the utility bill for the life of the unit.
What we focus on:
- Roof overhangs. A deeper overhang shades south- and west-facing walls and windows, reducing solar gain in the hottest part of the day. It also protects the wall from sun and rain, which extends the life of the finish.
- Window orientation. West-facing glass is the enemy in a desert climate. Designers place larger windows on north and east elevations and keep west-facing openings modest or shaded.
- Insulation and air sealing. A small home has a lot of surface area relative to its volume. Getting insulation values and air sealing right matters more in an ADU than in a larger house, because heat leaks in through a higher proportion of the envelope.
- Mechanical system sizing. Oversized equipment in a small space does not mean better cooling. Correct sizing matters for comfort and energy use, and the right size is determined during design.
- Roof material and color. Lighter, reflective roofing is a sensible default for a desert project, both for the ADU itself and for how it looks from the main house.
Boulder City’s climate also affects the design of outdoor space. A covered entry and a shaded patio can be small design moves that make the unit livable year-round, and they cost far less when they’re designed in from the beginning. Our ADU builders page goes into how we bridge design and build on the ground.
What’s in a Permit-Ready Plan Set?
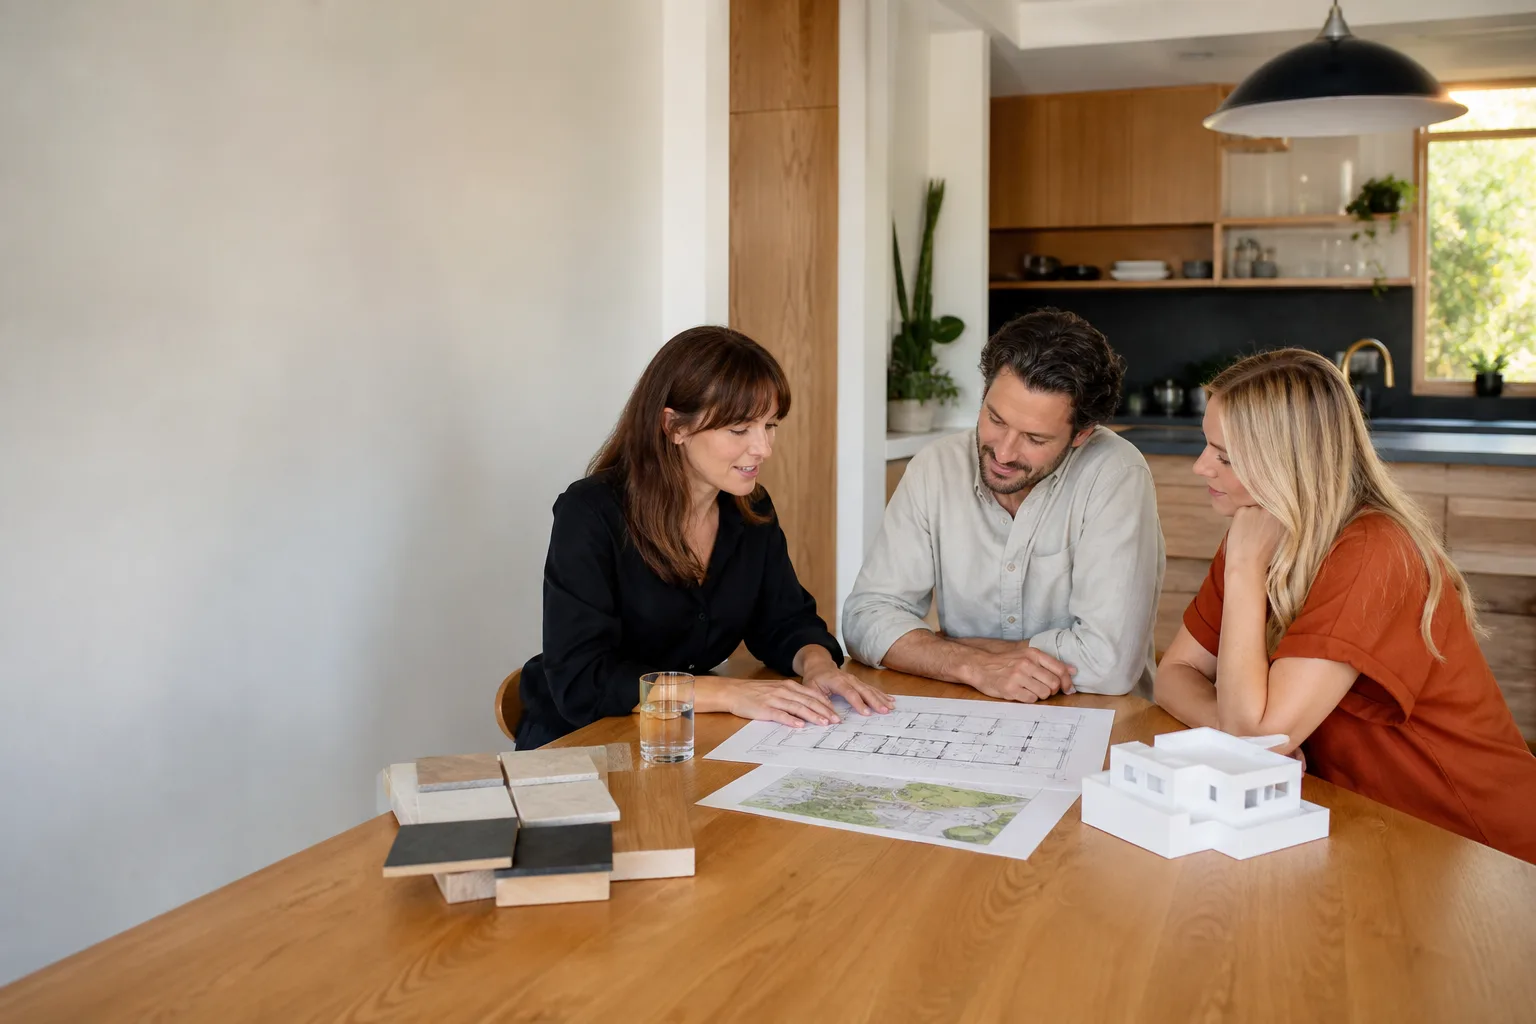
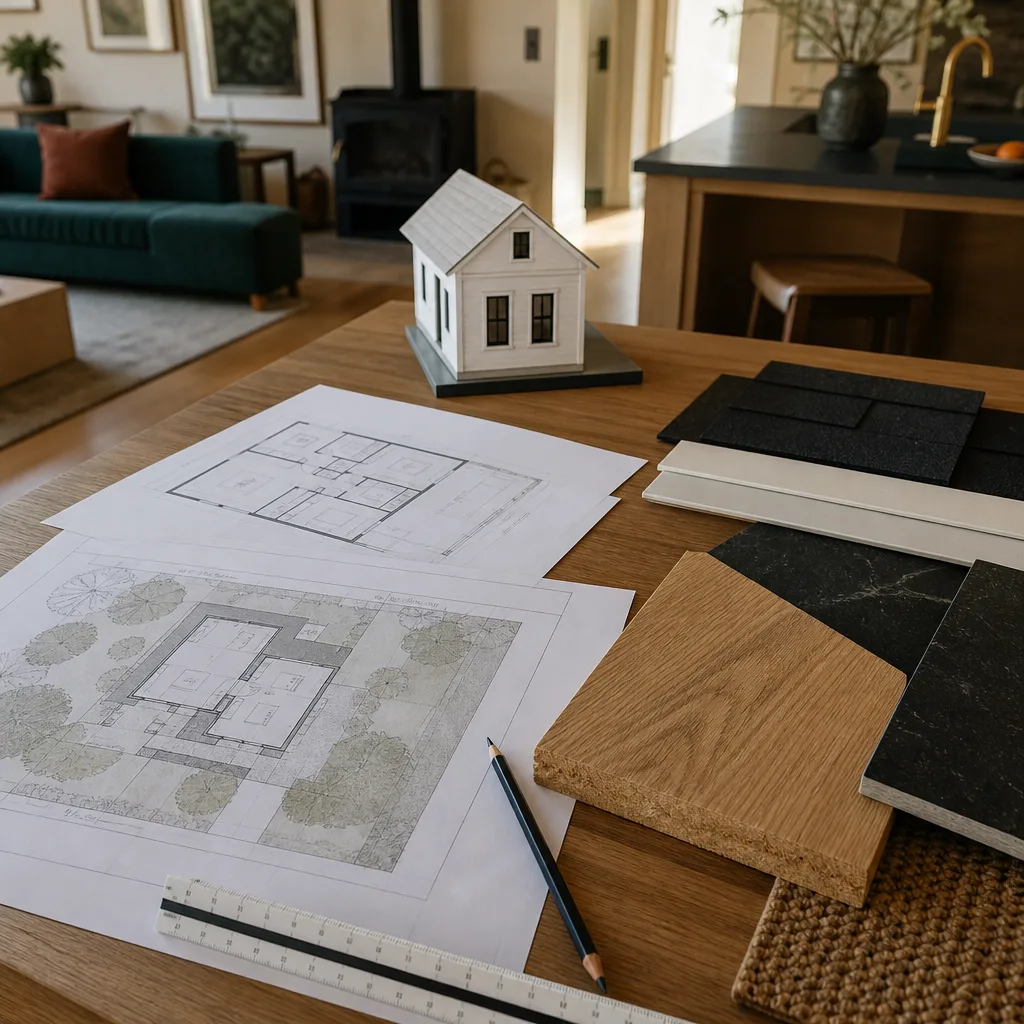
A permit-ready plan set is the full package a building department reviews to issue a construction permit for an ADU. In Boulder City, that package typically includes several coordinated drawings, and the exact requirements should be confirmed with the city’s building department before plans are submitted. What’s consistent is that a set is not a sketch – it’s a complete description of what will be built, how it’s supported, and how it will be built to code.
Here’s what a complete set usually contains:
- Site plan. The lot drawn to scale, showing the main house, the ADU location, setbacks, lot coverage, access, and grades.
- Floor plans. Room layout, dimensions, door and window locations, plumbing fixtures, and the relationship between interior spaces.
- Exterior elevations. All four sides of the building, showing roof form, wall materials, window heights, and how the ADU sits next to the house.
- Foundation plan. The structural base, including footing sizes and slab or raised-floor design.
- Framing and structural details. Wall, floor, and roof framing described so the plan examiner can confirm it meets code.
- Energy compliance documentation. The paperwork that demonstrates the ADU meets the energy code in effect when the permit is submitted. This is often the most technical part of the package and the one most often corrected if it’s done carelessly.
- Mechanical, electrical, and plumbing plans. Often part of the same set, sometimes submitted as separate sheets or permits. The details depend on the city’s submission process.
A set that’s incomplete or internally inconsistent comes back for corrections, and each round adds time. When we work with a prefab brand like Abodu, Cover, or Dvele, the manufacturer’s engineering package is integrated into the local permit set, which is one reason a prefab path can move through review more smoothly. A local permit set still has to satisfy Boulder City’s requirements, so we coordinate between factory engineering and local review.
Designer, Draftsperson, or Licensed Architect: Who Do You Need?
Nevada does not require a licensed architect for every ADU, but it does require one for certain projects, and the rules on who may stamp or prepare drawings vary. The honest answer is that the right professional depends on the scope of the project, and you should confirm the requirement with the local jurisdiction before signing a design contract. What’s clearly true is that a draftsperson, a designer, and a licensed architect offer different services, and you should know which one you’re hiring.
What a draftsperson does
A draftsperson prepares technical drawings. They may be excellent at translating a design into a permitable plan set. Their scope depends on the jurisdiction and the drawings being produced.
What a designer does
A designer plans how the space will work – circulation, light, materials, and layout. They typically lead the creative direction of a project and coordinate with a draftsperson or architect to produce construction drawings.
What a licensed architect does
A licensed architect is professionally responsible for the building’s design and can sign and seal drawings where the law requires a seal. Projects with structural complications, unusual lots, or overlays may require one. The state licensing board can clarify who may prepare and seal drawings for your project.
The practical takeaway: ask every design professional you interview what they are licensed to do and what scope they are proposing to handle. In a Boulder City ADU project, the answer shifts with the lot. A simple garage conversion may need less professional scope than a ground-up unit on a tight lot. To understand how design scope connects to the full project, see our room addition contractor overview.
Which Early Decisions Drive Cost and Rentability?
A handful of design decisions made before the first permit drawing shape the construction cost and the long-term usefulness of the ADU. Ceiling height, entry location, and utility stub placement are the three that show up in nearly every project. They are also the three that are hardest and most expensive to change later, which is why we settle them in design.
Ceiling height
A higher ceiling adds vertical volume, which can make a small home feel generous. It also raises wall framing, drywall, insulation, paint, and window costs. For an ADU, a standard height with good window placement often feels more spacious than a tall ceiling with poor light. The decision affects cost before the first board is cut.
Entry location
Where the door goes affects the path from the street, the privacy of the main house, and the cost of utilities. An entry on the alley side may require less driveway work but more utility run. An entry facing the main house creates a shared courtyard that tenants appreciate but shortens the ADU’s private outdoor space. The best choice depends on how you plan to use the unit, and whether a parent or adult child will live there versus a renter.
Utility stub placement
How power, water, and sewer connect to the ADU is one of the largest hidden cost items in any ADU project. Placing the ADU near the main house’s utilities can shorten the runs; placing it at the back of a deep lot can lengthen them considerably. Locating the connection points in design – ideally on the site plan – is the cheapest way to manage that cost. It also affects where the kitchen and bathroom can go.
Where Does a Prefab ADU Fit in the Design Process?
A prefab ADU enters the design process at a different point: a substantial part of the design is already done by the manufacturer, and your local design work focuses on site fit, utility connections, and permit compliance. That’s the real value of the prefab path – factory-engineered quality and a design already resolved, with the local work focused where it actually matters. As an authorized builder for Abodu, Cover, and Dvele, we’ve worked both paths, and each fits a different homeowner.
How the process differs:
- Ground-up custom. Your design is drawn from scratch to fit your lot, your family, and your budget. It offers the most flexibility and the most decisions to make. It’s the right choice when the lot is unusual or the design matters as much as the schedule.
- Prefab. You start from a proven design, and the design process focuses on site planning, utility coordination, and permit integration. It’s the right choice when the timeline and the known quality standard matter more than a fully bespoke floor plan.
- Garage conversion. Your existing structure becomes the starting point for design. The constraints are already set by the existing footing, roofline, and wall conditions, which can make the design process faster but also less flexible. In Boulder City, where many homes have a detached or attached garage, this is often the fastest path from design to a livable unit.
Choosing between these paths is one of the first decisions in the design process, and it’s a decision we can help you get right. Our Boulder City service overview is a good place to start.
What Does the Design Phase Typically Cost?
Design-phase costs are estimates and vary by scope, the professional you hire, and how complex the site is. We can give you typical ranges, but the written estimate from your design professional is what sets the final price. The numbers below are estimates for planning purposes, not a quote.
| Design-phase item | Typical estimated range |
|---|---|
| Concept and site planning | $2,500 – $6,000 |
| Complete permit-ready plan set (site, floor, elevations, foundation, energy compliance) | $6,000 – $15,000 |
| Structural, mechanical, and energy details for a complex site | $2,000 – $6,000 additional |
| Prefab site plan and utility coordination (prefab path) | $2,000 – $5,000 |
Two things drive the design cost up or down. The first is site complexity: an unusual slope, a tight side yard, or a historic overlay adds professional hours. The second is the scope of the permit set: a simple garage conversion usually needs fewer sheets than a ground-up unit. We always recommend getting the full design cost in writing before work begins, and confirming with Boulder City that the package you’re producing matches what the city will review. Our team can walk you through the options on a free estimate – see the full process on our ADU builders page.
What Happens Between Design and Permit Approval?
Your completed design becomes a permit application, and the building department reviews it against the codes in effect at the time of submission. Boulder City’s review process, timeline, and requirements should be confirmed with the city’s building department when you apply – we don’t want to guess at a local review deadline. What we can explain is how to prepare for review so the plan set doesn’t come back for avoidable corrections.
How to prepare a plan set for review:
- Match the set to the city’s submission checklist. Confirm the current checklist with the building department before submitting. Requirements can change between when your designer started and when you apply.
- Make the drawings consistent. Dimensions on the floor plan should match dimensions on the elevations and site plan. Inconsistencies trigger corrections.
- Finish energy compliance documentation before submitting. This is commonly where plans get flagged. It should be complete and current.
- Show the connections. Utility, drainage, and access should be clearly described on the site plan.
- Plan for corrections. Even a good plan set may receive comments. Budget time for one correction cycle and answer each comment directly.
Once the permit is issued, the design becomes the build. If you’re working with us, the design stage ends with a written construction estimate, and the scope and price are set there. That’s the milestone we aim for: a permit-approved set, a construction estimate in writing, and a build that matches the drawings exactly.
Common Mistakes to Avoid
- Designing before you’ve confirmed the envelope. A beautiful plan that violates setback or lot coverage rules cannot be built. Draw the lot box first, then design inside it.
- Assuming a rule from another city applies in Boulder City. City zoning and building rules are specific to the city and the parcel. Confirm with Boulder City’s planning department, not a forum post or a neighboring city’s rules.
- Using a designer who doesn’t understand desert construction. Masonry detailing, roof overhangs, window orientation, and mechanical sizing all matter here more than they would in a milder climate.
- Not confirming who is licensed to draw or seal what. Nevada has rules about who may prepare certain drawings. Ask every professional what they’re licensed to do before signing a contract.
- Leaving utility stub placement to the end. Where the connections go is a cost decision, and it’s much cheaper to make in design than in construction.
- Submitting a plan set without energy compliance documentation. This is a common source of review delays. Confirm the requirement with the city and include it.
- Choosing ceiling height by feel. A taller ceiling costs more across framing, insulation, drywall, and paint. Make the decision with the cost in front of you.
When to Call a Professional
Call a professional when you’ve identified that an ADU fits your lot but you’re not sure how to read the zoning summary, when your design needs to translate into a permit-ready plan set, or when a prefab path is on the table but you need a local team that knows the product and the city’s review process. In our experience, the projects that go smoothly are the ones where the design was treated as the foundation, not an afterthought. Casita Builders Boulder City offers free estimates in Boulder City – call (888) 294-3269. We’re happy to review your planned room addition or conversion and set the scope in writing.
Frequently Asked Questions
Nevada does not require a licensed architect for every ADU, but it does for some projects, and the rules depend on scope and jurisdiction. Confirm the requirement with your local building department and ask any designer you interview what they are licensed to prepare and seal. If your project has structural complications, an unusual lot, or an overlay, a licensed architect may be required. Call (888) 294-3269 for an exact design scope and estimate – estimates are free.
We don’t promise a design timeline, because it depends on the scope, the site, and how many decisions need to be resolved before the permit set is complete. The schedule is set in the written estimate. What we do commit to is walking you through each stage in order: envelope, layout, climate details, permit set, review. Call (888) 294-3269 to talk through your project.
A garage conversion still requires design and permits, but the existing structure sets many decisions for you, so the design process can be shorter. The footprint, roofline, and existing utility locations are already there; the design work focuses on interior layout, insulation, mechanical, and bringing the conversion up to current code. Call (888) 294-3269 to check whether your garage’s structure is a good candidate.
No design is guaranteed to pass review, and we don’t promise permit approval. We work to prepare a complete, consistent plan set and to confirm current requirements with the city before submitting. That reduces the chance of corrections, but the final decision belongs to the building department. Call (888) 294-3269 to start the process with a free estimate.
A prefab ADU starts with a proven design already engineered by the manufacturer, so the local design work focuses on site fit, utility connections, and permit compliance rather than a blank page. That can reduce the number of decisions you’re asked to make. As an authorized builder for Abodu, Cover, and Dvele, we help you understand what is fixed in the manufacturer’s design and what can be adapted. Call (888) 294-3269 to compare the prefab and custom paths.
Bring your property’s zoning information, a rough site plan of the lot showing the house and garage, a list of what you want the ADU to do (rental, family, or home office), and a sense of your budget. The more specific you are about the intended use, the better the first sketch will be. Call (888) 294-3269 to schedule a free estimate.
The Bottom Line
The ADU design process is a sequence, not a selection of options. Confirm the zoning envelope first, then design inside it. Get the desert climate decisions right – overhangs, orientation, insulation, mechanical sizing – because they’re cheap in design and expensive later. Produce a complete permit set and confirm the current requirements with Boulder City before submitting. Get the early decisions (ceiling height, entry location, utility stubs) into the design before the build, because they drive cost and usefulness for the life of the unit. Whatever path you choose, the design is your foundation.
If you’re ready to turn a plan into a permit set, call Casita Builders Boulder City at (888) 294-3269 for a free estimate. Our team can review your lot, your options, and your design questions in one visit.
Ready to Start Your ADU Design?
Call Casita Builders Boulder City at (888) 294-3269 for a free estimate. Our team can help you understand your lot, choose between a custom build, prefab unit, or garage conversion, and get your design moving toward a permit-ready set. We answer 24/7. Fast dispatch from 7am to 7pm, Sunday through Friday. We’re closed on Saturday.
Written by the team at Casita Builders Boulder City.