Last updated November 18, 2026
ADU Site Preparation: What Happens Before Framing Starts
Most homeowners picture their ADU project starting the day lumber shows up. It doesn’t. Before a framing crew can touch your lot, five separate things have to happen in sequence, and in Boulder City at least two of them routinely take longer than the entire factory build window for a prefab unit. That gap between expectation and reality is where budgets quietly slip and move-in dates get pushed. We’ve watched it happen enough times to know it isn’t about incompetent contractors. It’s about skipping a real site assessment. This guide walks through every stage of site prep in order, what can go wrong, and how to plan a realistic timeline before you commit to a date.
Quick Answer
ADU site preparation in Boulder City means completing five sequential steps before framing: a boundary survey, a soil and caliche assessment, utility locates and a feasibility check, grading and drainage work under permit, and meter or panel upgrades. Each step gates the next, and on Boulder City lots the soil and utility stages are the two most likely to add time. Skipping or rushing any of them is how ADU budgets blow up after the contract is signed.
Table of Contents
- The Five Site-Prep Milestones, In Order
- Why Caliche Hardpan Changes Everything
- What a Utility Feasibility Check Really Reveals
- Custom Build vs. Prefab Drop: Site Prep Differences
- Grading, Drainage, and Desert Water Flow
- A Realistic Timeline Buffer Table
- Common Mistakes to Avoid
- Frequently Asked Questions
The Five Site-Prep Milestones, In Order
Site prep for an ADU isn’t a single phase. It’s five sequential gates, and each one has to close before the next opens. Here’s the order we work through on Boulder City lots, and why it matters.
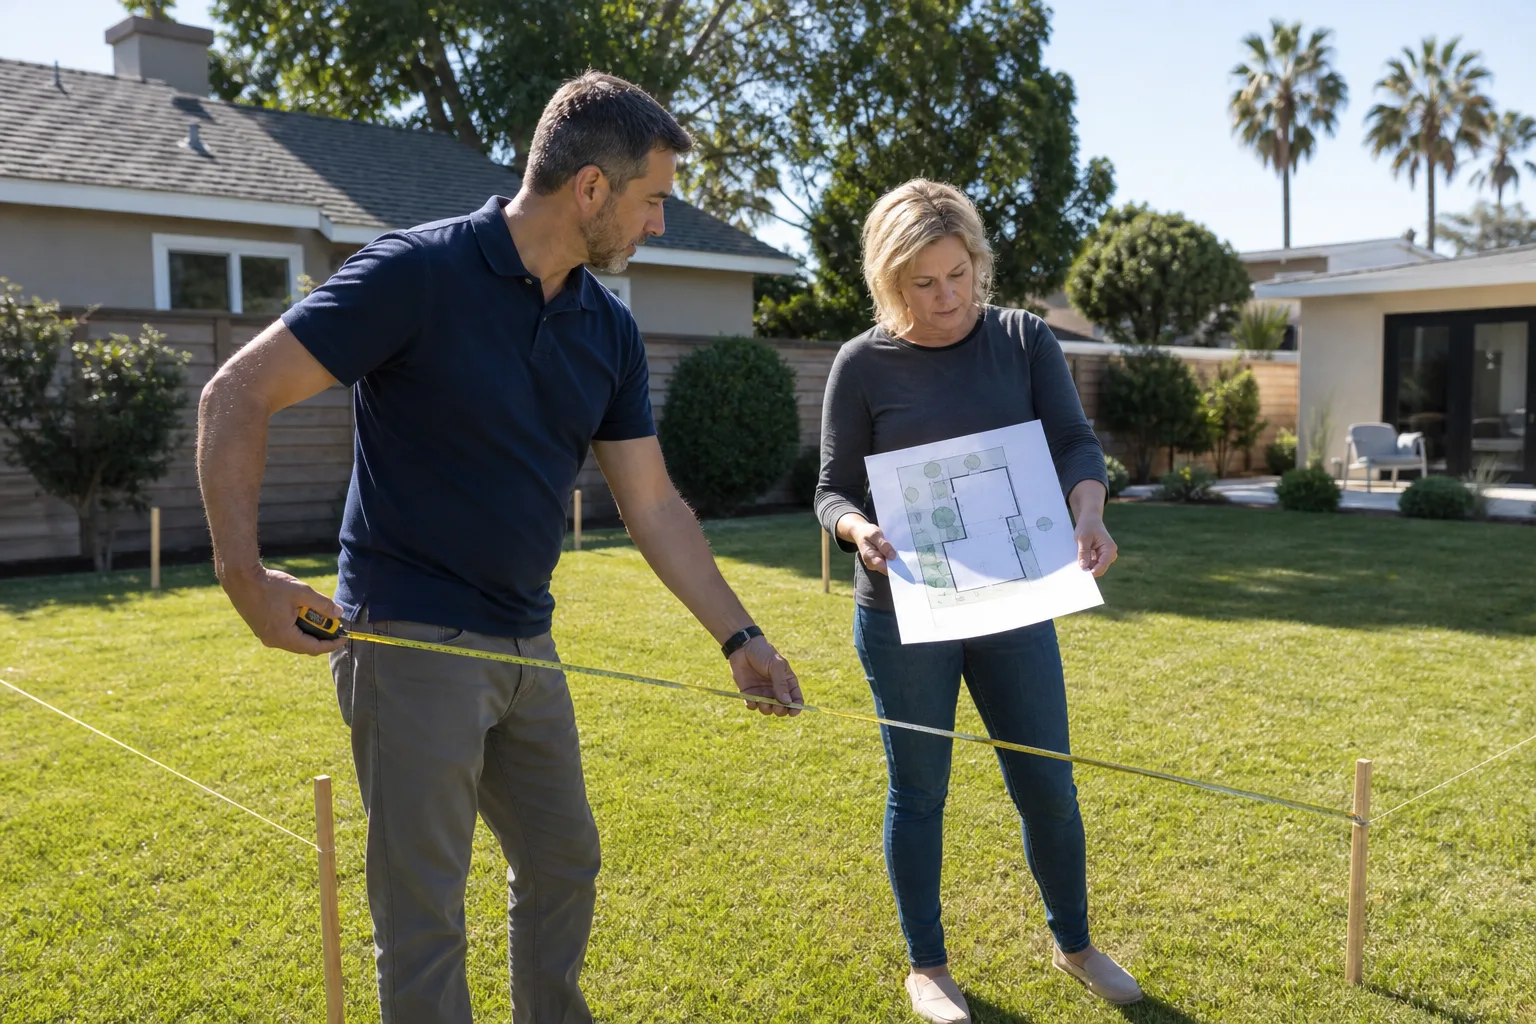
- Boundary and topographic survey. A licensed surveyor confirms exactly where your property lines sit and maps the grade across the lot. On older Boulder City parcels, fences and lines sometimes disagree, and you don’t want to discover that after you’ve poured a foundation.
- Soil and caliche assessment. A geotechnical evaluation tells us what the ground will do under a footing. This is the stage where caliche hardpan shows up and changes the plan.
- Utility locates and feasibility check. Underground lines get marked, and we investigate whether the sewer lateral, water service, and electrical panel can carry the added load of a second dwelling.
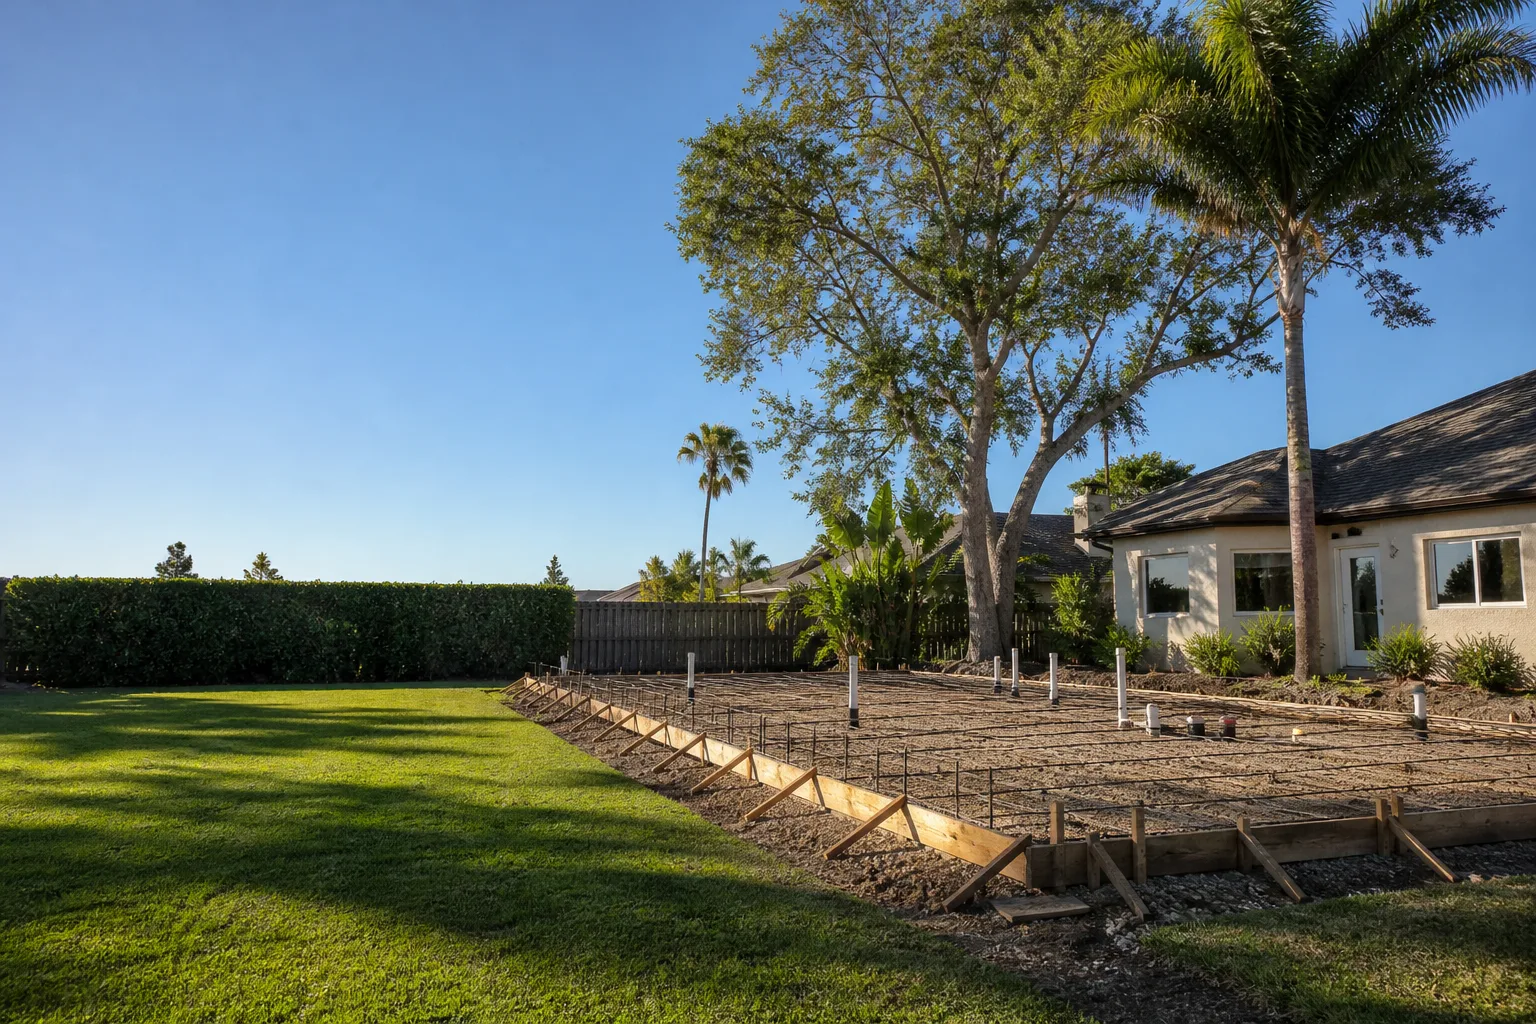
- Grading permit and site work. Once the design is settled, grading plans get drawn and permitted, then dirt actually moves. Drainage, pad elevation, and retaining are handled here.
- Meter and panel work. If the ADU gets its own meter, or the main panel needs upgrading, that electrical work happens before framing so walls don’t have to be opened later.
None of this is glamorous. All of it decides whether the rest of your project runs smoothly. The survey comes first because everything downstream depends on the setbacks it establishes. The soil report comes second because foundation design depends on it. Utility findings come third because they can force design changes before plans get finalized. Grading follows once the design is locked. Meter work happens last, right before framing, so the crew has power available from day one.
If you’re still deciding between a ground-up build or a conversion, the same prep sequence applies either way. Our ADU builders handle this sequence as a matter of routine, and it’s worth having a conversation about it early. On a lot with an existing garage, some steps run shorter and others (particularly utility feasibility) become more interesting because you’re tying into an existing structure.
Why Caliche Hardpan Changes Everything
Caliche is a cemented layer of calcium carbonate that forms naturally in arid soils, and it’s common in the Boulder City area. Under softer desert sands you can usually excavate with a standard trencher and pour a conventional footing. Under caliche hardpan you may hit a layer that behaves more like low-grade concrete than soil. That single fact drives three separate decisions: foundation type, excavation method, and how much contingency you need in the soil-work line of your estimate.
What we do when we find caliche:
- Adjust foundation strategy. Depending on the depth and thickness of the layer, a design might use a deeper pier, a post-tension slab, or an engineered alternative that avoids fighting the hardpan.
- Plan for heavier excavation equipment. Standard trenchers may not cut it, and the excavation line of a budget has to reflect that.
- Reconsider siting. If caliche is shallow on one part of the lot and deeper elsewhere, moving the ADU footprint a few feet can save real money.
The mistake we see most is treating caliche as a surprise. It’s not a surprise, it’s a known feature of the ground here. A proper soil assessment either confirms it’s present and adjusts the plan, or confirms it’s shallow enough that a standard foundation works. Skipping the assessment to save time is how a modest line item becomes a mid-project change order.
For comparison, softer parts of the Nevada desert that lack caliche tend to run through foundation and excavation stages faster and with less cost variability. The lesson isn’t that one soil is “better”, it’s that a design team needs to know what’s under your specific lot before it commits to a foundation type. That’s a Casita Builders Boulder City specialty because it’s the same geology every project here runs into.
What a Utility Feasibility Check Really Reveals
A utility feasibility check answers three questions before a dollar goes to framing: can the sewer lateral carry a second dwelling, does the electrical panel have headroom for the added load, and is water pressure adequate to serve the new unit. Any of these findings can reshape the design before it’s locked.
Here’s what each check typically surfaces:
Sewer lateral capacity
The existing line has a maximum flow it can handle. On a lot that was plumbed for one house decades ago, adding a second dwelling with its own bathrooms can exceed that capacity. If the lateral is undersized or in poor condition, the options include upsizing the line, re-routing, or in some cases tying the ADU to a private system. All of those need to be decided before grading, not after.
Electrical panel headroom
Modern ADUs with a kitchen, an electric water heater, and a mini-split system pull real amps. If the main panel is already close to its limit, you’re looking at a panel upgrade or a second meter. That’s electrical work that has to happen before framing so the crew isn’t running temporary power off extension cords.
Water pressure and service size
A service that barely keeps up with one shower can struggle when a second dwelling adds fixtures. If pressure or line size is marginal, the fix might be a service upgrade or a pressure-reducing valve. These aren’t glamorous items, but each one closes a gate in the sequence.
If you’re considering a garage conversion, the utility check gets more nuanced because you’re tying into an existing structure that may have been wired for a car and a light bulb. Our room addition contractor team handles the utility side of conversions with the same care as a new build, because the underlying physics doesn’t change.
Custom Build vs. Prefab Drop: Site Prep Differences
Site prep for a custom ADU and site prep for a prefab drop share the same five milestones but diverge in what the finished pad has to deliver. A panelized build goes up on-site and material deliveries are frequent and small. A prefab unit like those from Abodu or Dvele arrives as large modules on a truck, which changes what access, pad tolerance, and staging need to look like.
Pad dimensions and tolerance
Prefab manufacturers publish a required pad tolerance. That means the pad has to be poured and finished to a specific flatness and elevation, because the modules are engineered to set down on it and bolt together. If the pad is out of tolerance, the whole delivery has to be rescheduled while it gets fixed. Custom builds are more forgiving because the framing is measured on-site. Prefab demands exactness at the pad, which is why we finalize pad specs against the manufacturer’s published drawings before grading begins.
Crane access and staging
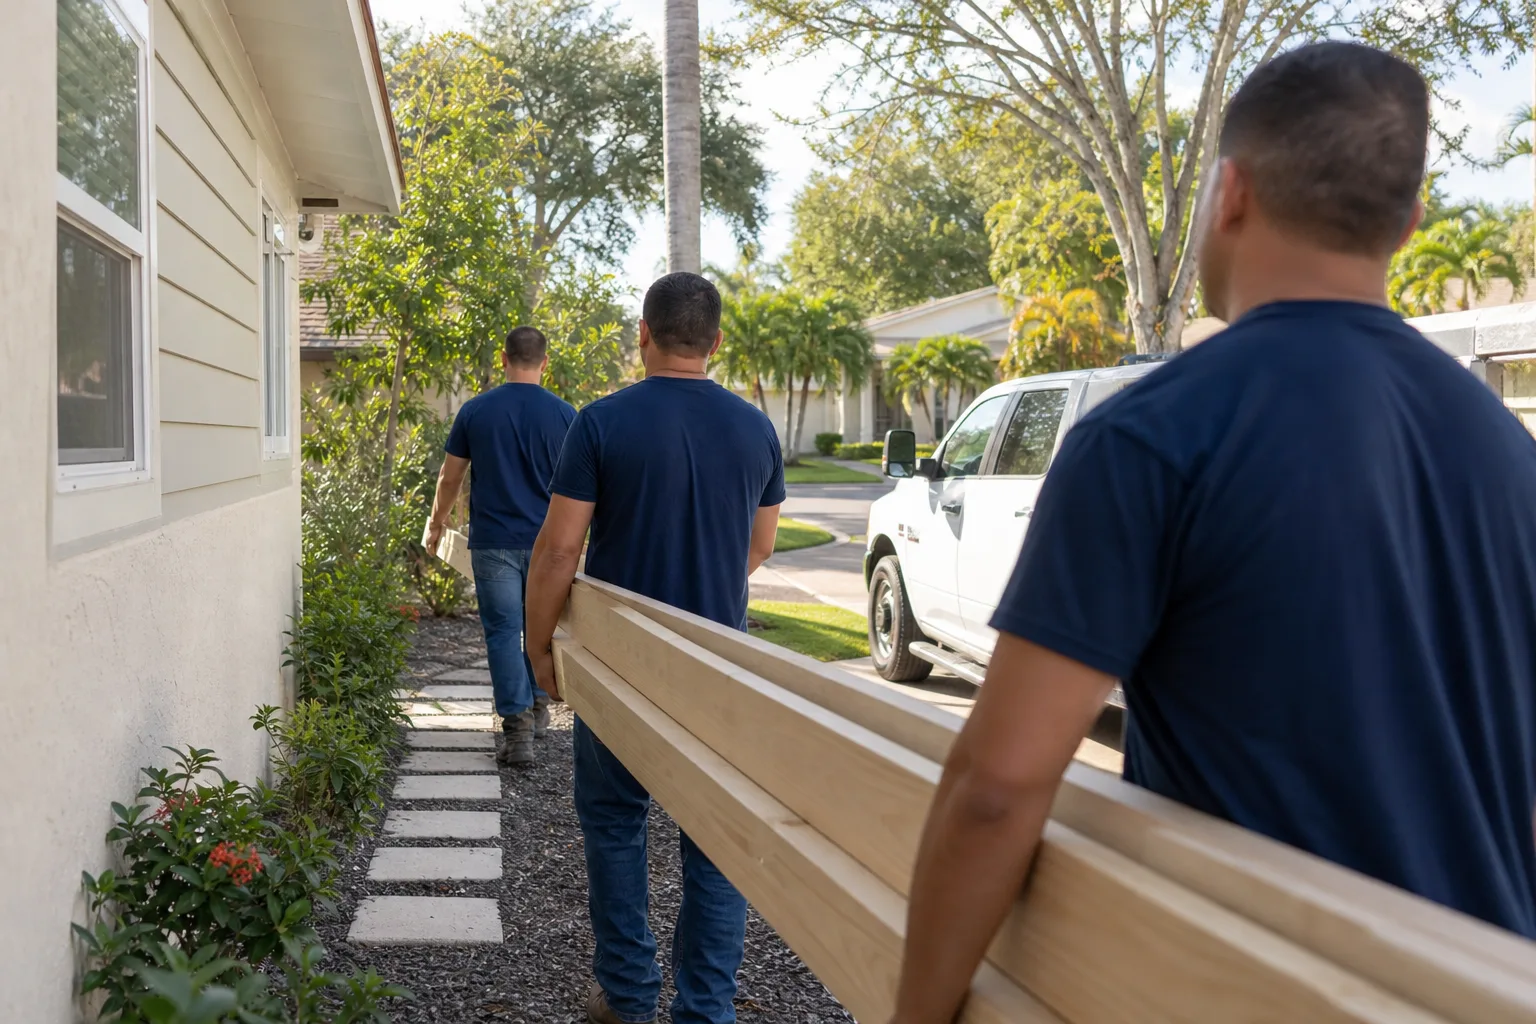
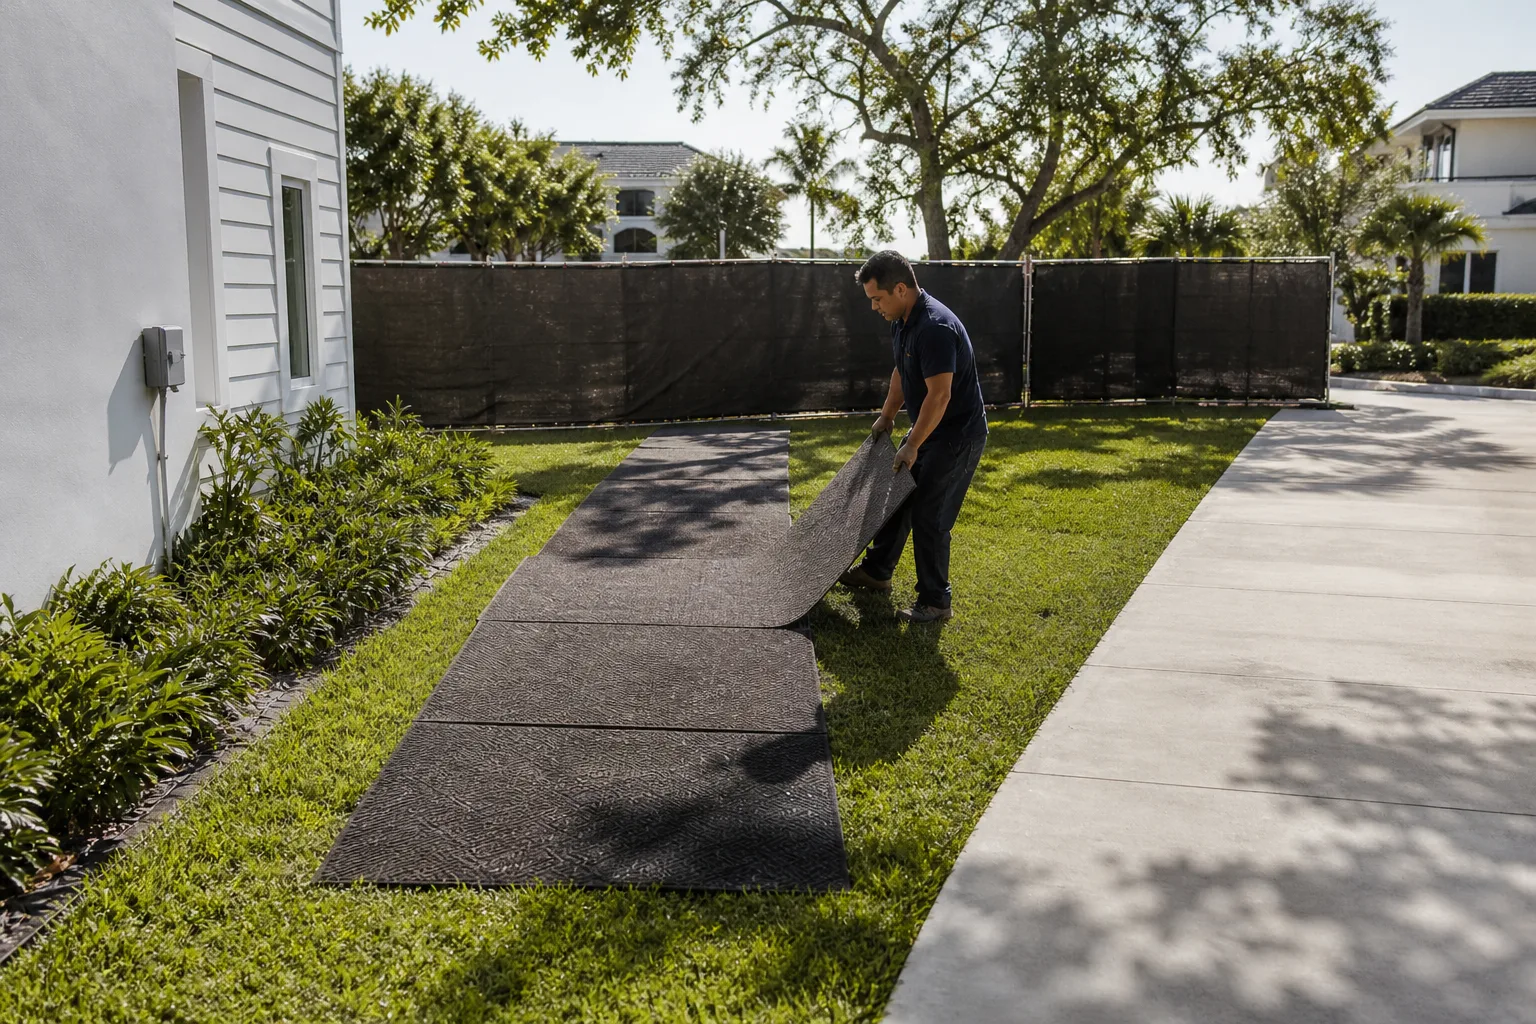
Setting modules off a truck typically requires a crane and a clear path. That means the site needs an accessible delivery route, adequate radius for the crane to operate, and staging area for the modules before they’re placed. Trees, power lines, and tight fences can all complicate this. On a compact Boulder City lot, we walk the crane path early and confirm it’s workable before scheduling the delivery window.
Pre-staged utility stubs
Prefab units are pre-plumbed and pre-wired to connection points. That means the sewer, water, and electrical stubs need to be exactly where the manufacturer’s drawings call for, at the exact elevation called for, before the modules land. A custom build can adjust a rough-in after framing. A prefab can’t. Pre-staging the stubs is the last and most exacting site-prep task, and getting it right is why manufacturer specs and site conditions have to be reconciled early.
Our work with Abodu and Dvele has taught us where those spec-to-site gaps usually appear. Cover’s panelized approach sits somewhere between the two, and it’s a good fit for lots where crane access is tight. Prefab decisions and site-prep decisions really are one conversation, not two.
Grading, Drainage, and Desert Water Flow
Grading is about where water goes when it rains, and in the desert that’s a bigger deal than most people from wetter climates expect. Desert storms deliver a lot of water in a short time, and the ground doesn’t absorb it fast. The combination means ponding against a foundation or under a prefab pad can do real damage if the grade is wrong.
What grading involves:
- Establishing the finished floor elevation. The ADU’s floor has to sit above the surrounding grade by enough that water runs away from the building, not toward it.
- Directing surface flow. Swales and grade changes route water toward the street, a drainage feature, or a natural low point on the lot. Where a natural low point sits against the building, we grade around it.
- Managing retaining. Sloped lots sometimes need a short retaining wall to hold the pad in place and prevent soil creep.
- Permitting the plan. Grading work typically needs its own permit, and the plan has to satisfy the city’s engineering standards before dirt moves.
Because grading permits are handled through the city, we confirm the specific requirements with the city’s building department during design. Rules change, and it’s not worth guessing. If your lot sits on a slope or adjacent to a wash, expect grading to be one of the more involved stages.
A Realistic Timeline Buffer Table
The single best thing you can do for your move-in date is add a buffer to each stage. Below is what each site-prep stage can realistically add. These aren’t predictions for your specific lot, they’re planning ranges that keep you from backing into a date you can’t hit. Your written estimate sets the actual schedule for your project.
| Stage | Typical buffer | What can stretch it |
|---|---|---|
| Survey | 2 to 4 weeks | Scheduling the surveyor; resolving line disputes with neighbors |
| Soil & caliche assessment | 2 to 4 weeks | Deep caliche requiring an engineered foundation design |
| Utility locates & feasibility | 1 to 3 weeks | Undersized sewer lateral; panel upgrade need |
| Grading permit & site work | 4 to 8 weeks | City review; drainage features; retaining |
| Meter & panel work | 2 to 4 weeks | Service upgrade; coordination with the utility |
| Prefab delivery & set (if applicable) | Set by manufacturer | Pad tolerance; crane access; weather |
Big picture: site prep alone can run three to five months on a lot that fights back. That window is why we tell clients not to plan the housewarming until the pad is poured and the utilities are stubbed. Once framing starts, the schedule is usually tighter. Before that, it’s about holding each gate open just long enough to close it properly.
Common Mistakes to Avoid
- Ordering the prefab before the soil report is back. If caliche forces a foundation change, the delivery date is the first thing to slip. Get soil results first, then confirm the delivery window.
- Assuming the existing panel has a spare breaker. An ADU adds load, and “there’s a bit of room” often means there isn’t. A feasibility check before design locks saves a re-design later.
- Grading without a permit. Moving dirt without the review on file is the kind of shortcut that gets a stop-work order. It also leaves you with no engineering review of where water goes.
- Skipping the survey because the fence “looks right”. Old Boulder City parcels sometimes have boundary lines that were drawn before the current fences. The setback the ADU needs comes from the survey, not the fence.
- Treating prefab as a late-stage decision. Pad tolerance, crane access, and stub locations are set by the manufacturer’s drawings, and those drawings need to reconcile with the site long before delivery.
- Planning the move-in date before site prep has a schedule. The move-in date should follow the site prep scope, not the other way around. Work backward from the written estimate.
- Underestimating desert drainage. A typical desert storm delivers water fast, and one grade that points at the wrong place can undermine a foundation. Solve it at grading, not after.
When to Call a Professional
If you’re researching ADUs and haven’t committed to a design yet, this is the right time to talk to a specialist. The five site-prep gates affect each pathway, and the earlier you know which gates your lot will complicate, the better you can plan. If you’re on a caliche-heavy parcel, if your panel is close to its limit, if the sewer lateral is old, or if you’re leaning toward a prefab delivery from Abodu, Cover, or Dvele, the sequence needs to be walked with you, not guessed at. These aren’t the kinds of decisions to solve by reading a spec sheet. In our experience, one free estimate walkthrough of the site prep side saves real money against the framing side.
Casita Builders Boulder City offers free estimates in Boulder City – call (888) 294-3269 to walk through your lot and your options. We answer 24/7. Fast dispatch from 7am to 7pm, Sunday through Friday.
Frequently Asked Questions
Site prep typically takes three to five months from kickoff to framing, though the exact schedule depends on your lot and your design. The stages add up fast: survey, soil assessment, utility feasibility, grading, and meter work each have their own buffer. Your written estimate sets the actual schedule for your project. Call (888) 294-3269 to walk through what your lot will need before framing starts.
Caliche is a naturally cemented layer of calcium carbonate that forms in arid soils and is common in this area. It matters because it can behave like low-grade concrete during excavation, forcing a deeper pier foundation, heavier equipment, or a different foundation design altogether. A soil assessment identifies whether it’s present and how deep, which is a line item you don’t want to discover mid-project. Call (888) 294-3269 for an estimate that accounts for it up front.
We don’t recommend it. The setback an ADU needs is established by the survey, not by fence lines, and older Boulder City parcels sometimes have boundaries that were drawn before the current fences. If the setback turns out different than assumed, the design has to change or the plan has to be re-submitted. The survey is the foundation of everything downstream. Call (888) 294-3269 to walk your lot and confirm what’s needed.
It differs in what the finished pad has to deliver. A prefab delivery from a brand like Abodu or Dvele requires a pad poured to the manufacturer’s published tolerance, crane access for setting the modules, and stubs placed at the exact locations and elevations called for in the drawings. A custom build is more forgiving because framing is measured on-site. Both follow the same five prep stages; prefab tightens the tolerance on the final pad, access, and stub work. Call (888) 294-3269 for an estimate tailored to the pathway you’re considering.
Then the utility feasibility check will usually surface a panel upgrade or a second meter as part of the site-prep scope. It’s better to know that before design locks, because the panel work has to be done before framing. A hidden panel constraint discovered mid-project forces a design change or an uncomfortable delay. Call (888) 294-3269 and we’ll walk through what the feasibility check typically reveals.
We handle the permit process for the work we perform, which includes grading on the projects we manage. Requirements for grading work are set by the city, and we confirm them with the city’s building department during design because rules are updated. Your written estimate will make clear what’s included. Call (888) 294-3269 to schedule a free estimate.
The Bottom Line
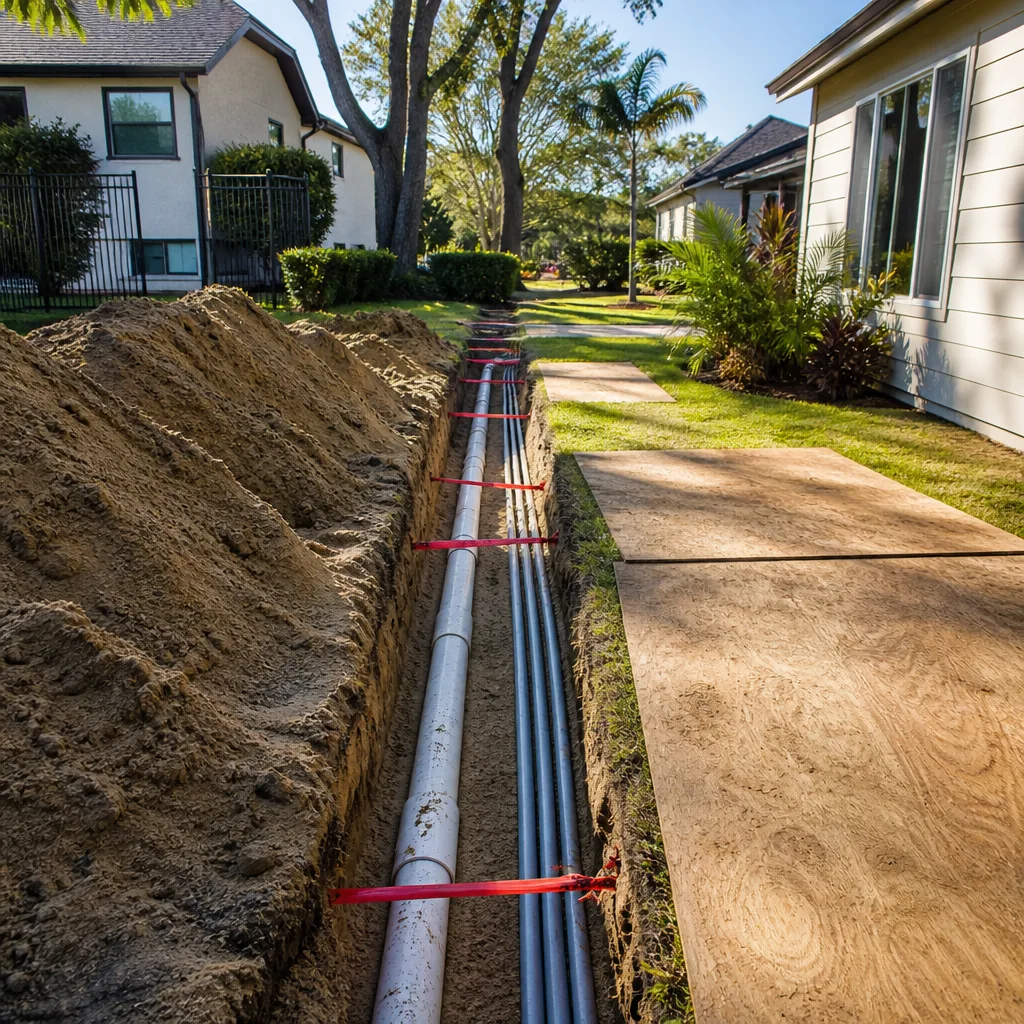
The five site-prep stages – survey, soil and caliche assessment, utility feasibility, grading, and meter or panel work – are the real first phase of an ADU project, and in Boulder City they’re the phase most likely to run long. Caliche-heavy soil and utility surprises both need to be identified before design locks, and prefab deliveries from brands like Abodu, Cover, or Dvele tighten the tolerances even further. Budget time for each gate before you commit to a move-in date, and walk the site with a specialist who does this for a living. Your property, more potential – and the right prep is what unlocks it.
Call (888) 294-3269 for a free estimate. We answer 24/7. Fast dispatch from 7am to 7pm, Sunday through Friday.
Written by the team at Casita Builders Boulder City.